Is your feature request related to a problem? Please describe.
When printing something around an object, object is placed in the print mid-print, for example a lockpick handle or an enclosure for something, causes the issue that Cura tends to print mid-air when the top layer has (necessary) holes. That means the layer usually goes to waste because Cura assumes next layers can adhere to the bottom ones, but in reality there's nothing below and can't be below.
Describe the solution you'd like
I would like a way of telling Cura to use a specific pattern for the supportless overhang's first layer that would always start from the edges, for example spiral to the middle. So that the printer never starts printing mid-air without supports, that are logically impossible to properly print.
Describe alternatives you've considered
I currently solve it by letting that first layer go to waste and wait for enough plastic to be deposited on the object so that layers on top end up nice.
Affected users and/or printers
Affects every print that prints around an object
Additional context
Example print: https://www.thingiverse.com/thing:4083032
But there are many many others.
 Avamander
All 9 comments
Could you please attach a screenshot showing the above lockpick object on the buildplate in the orientation that you are having problems with? Thanks.
Here's how I would expect it to be printed...
I can't see any big problems with that.
 smartavionics
on 10 Mar 2020
smartavionics
on 10 Mar 2020
I'd expect the print to be rotated 90deg towards top right, so it'd be flat with the bed, otherwise I don't see how the pick could be placed inside during the print.
Avamander
on 10 Mar 2020
I don't believe it was intended to be printed like that but, anyway, this is what the first layer above the big hole looks like and you can see the skin lines go across the gap quite nicely...
smartavionics
on 10 Mar 2020
Okay yeah, in that case it works if the top layer doesn't have any holes. My bad, that specific model is not a good example of this specific issue, only as a type of print where object is placed inside.
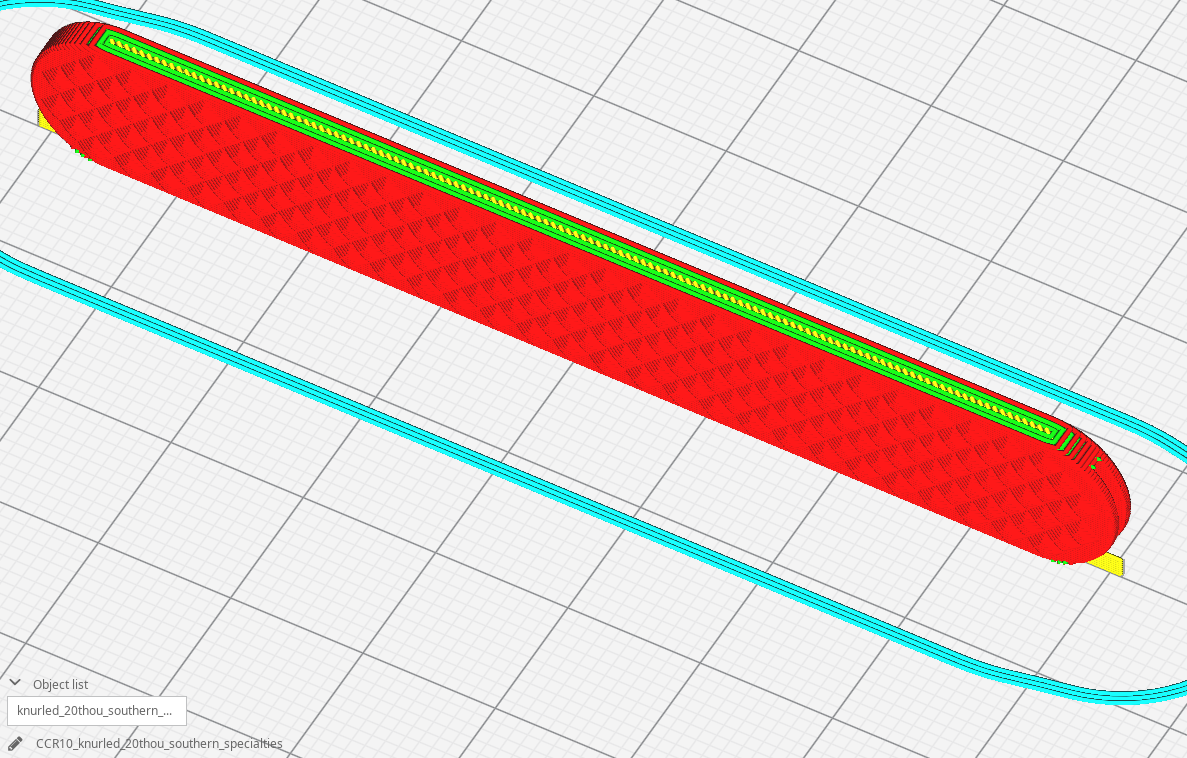
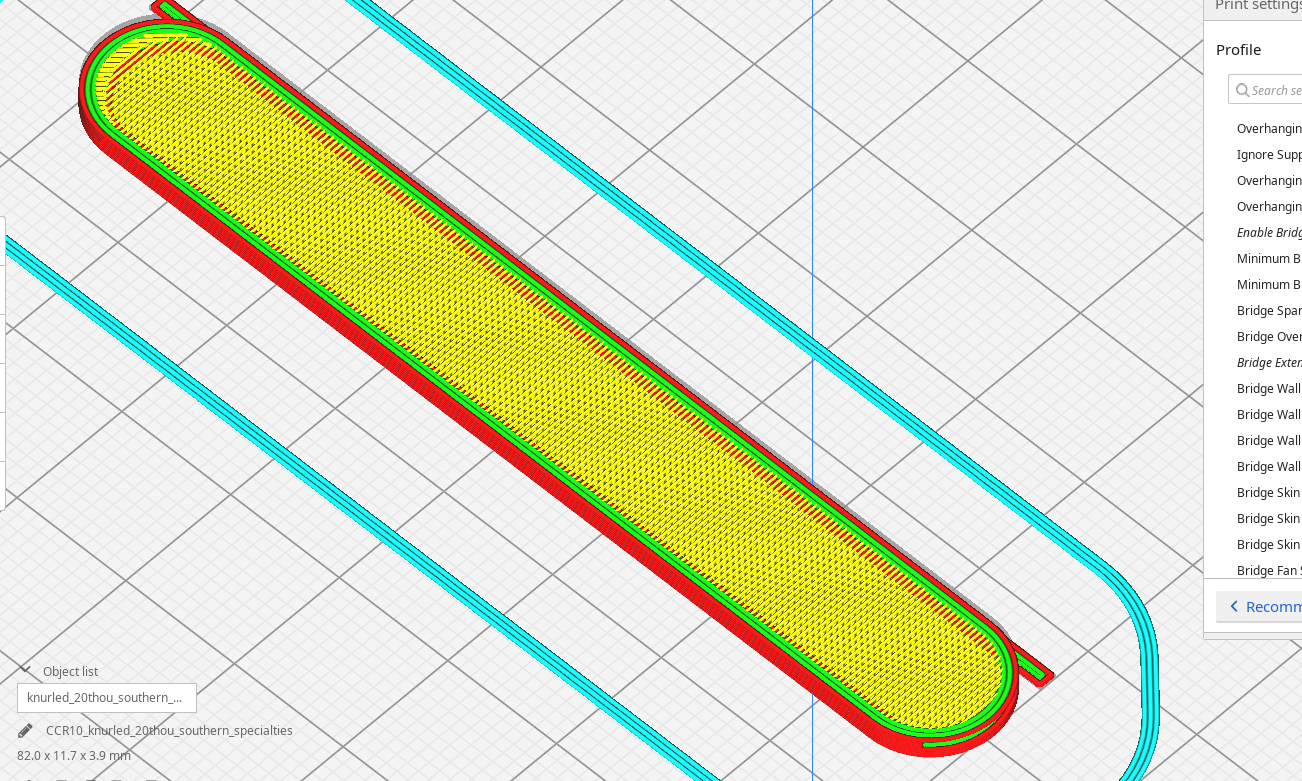
Here's a model of mine intended to fit snugly around a key:

Here the what gets extruded first:

As you can see, without adhesion (which is unlikely to happen on an unheated, uneven surface such as a key), this layer is likely to fail.
Avamander
on 10 Mar 2020
Ah, OK, I understand now. Yes, that's going to fail. If I was doing that model I would not have the hole go all the way through that top surface so that the first layer over the key is without holes and the hole gets cut out after the print has finished. I use that technique whenever I have a wall that is completely unsupported.
smartavionics
on 10 Mar 2020
Yes, that works to a certain extent, but I was exactly thinking that Cura could build paths that start building off from the walls e.g. a spiral pattern towards the middle, that would increase the likelihood that the "first" layer won't fail.
Of course, as a third alternative, the hole could be lined from inside (so that a tower is built from the bottom layer) but I found that it wears down in certain cases and doesn't work great.
Avamander
on 10 Mar 2020
In the general case, you can't assume there's any support at all under the skin so I doubt very much that a spiral skin would be successful.
This issue is really the same as https://github.com/Ultimaker/Cura/issues/7162.
smartavionics
on 10 Mar 2020
I've found that I can get the first layer succeed everywhere except that hole, when I make sure the diagonal extrusions don't detach from the wall. So I do think it would improve the chances it does succeed when extra attention is paid by the slicer not to print mid-air.
Avamander
on 10 Mar 2020
They have some interesting ideas on how to tackle this for general shapes over at #7162. Please continue the discussion there.
 Ghostkeeper
on 13 Mar 2020
Ghostkeeper
on 13 Mar 2020
Related issues
 timherrm
·
3Comments
timherrm
·
3Comments
 thopiekar
·
3Comments
thopiekar
·
3Comments
 mubarak111nsu
·
3Comments
mubarak111nsu
·
3Comments
 konvoj
·
3Comments
konvoj
·
3Comments
 tomoinn
·
3Comments
tomoinn
·
3Comments