Windows-itpro-docs: Missing step to set the Subject Alternative Name in Create a SCEP Certificate Profile section?
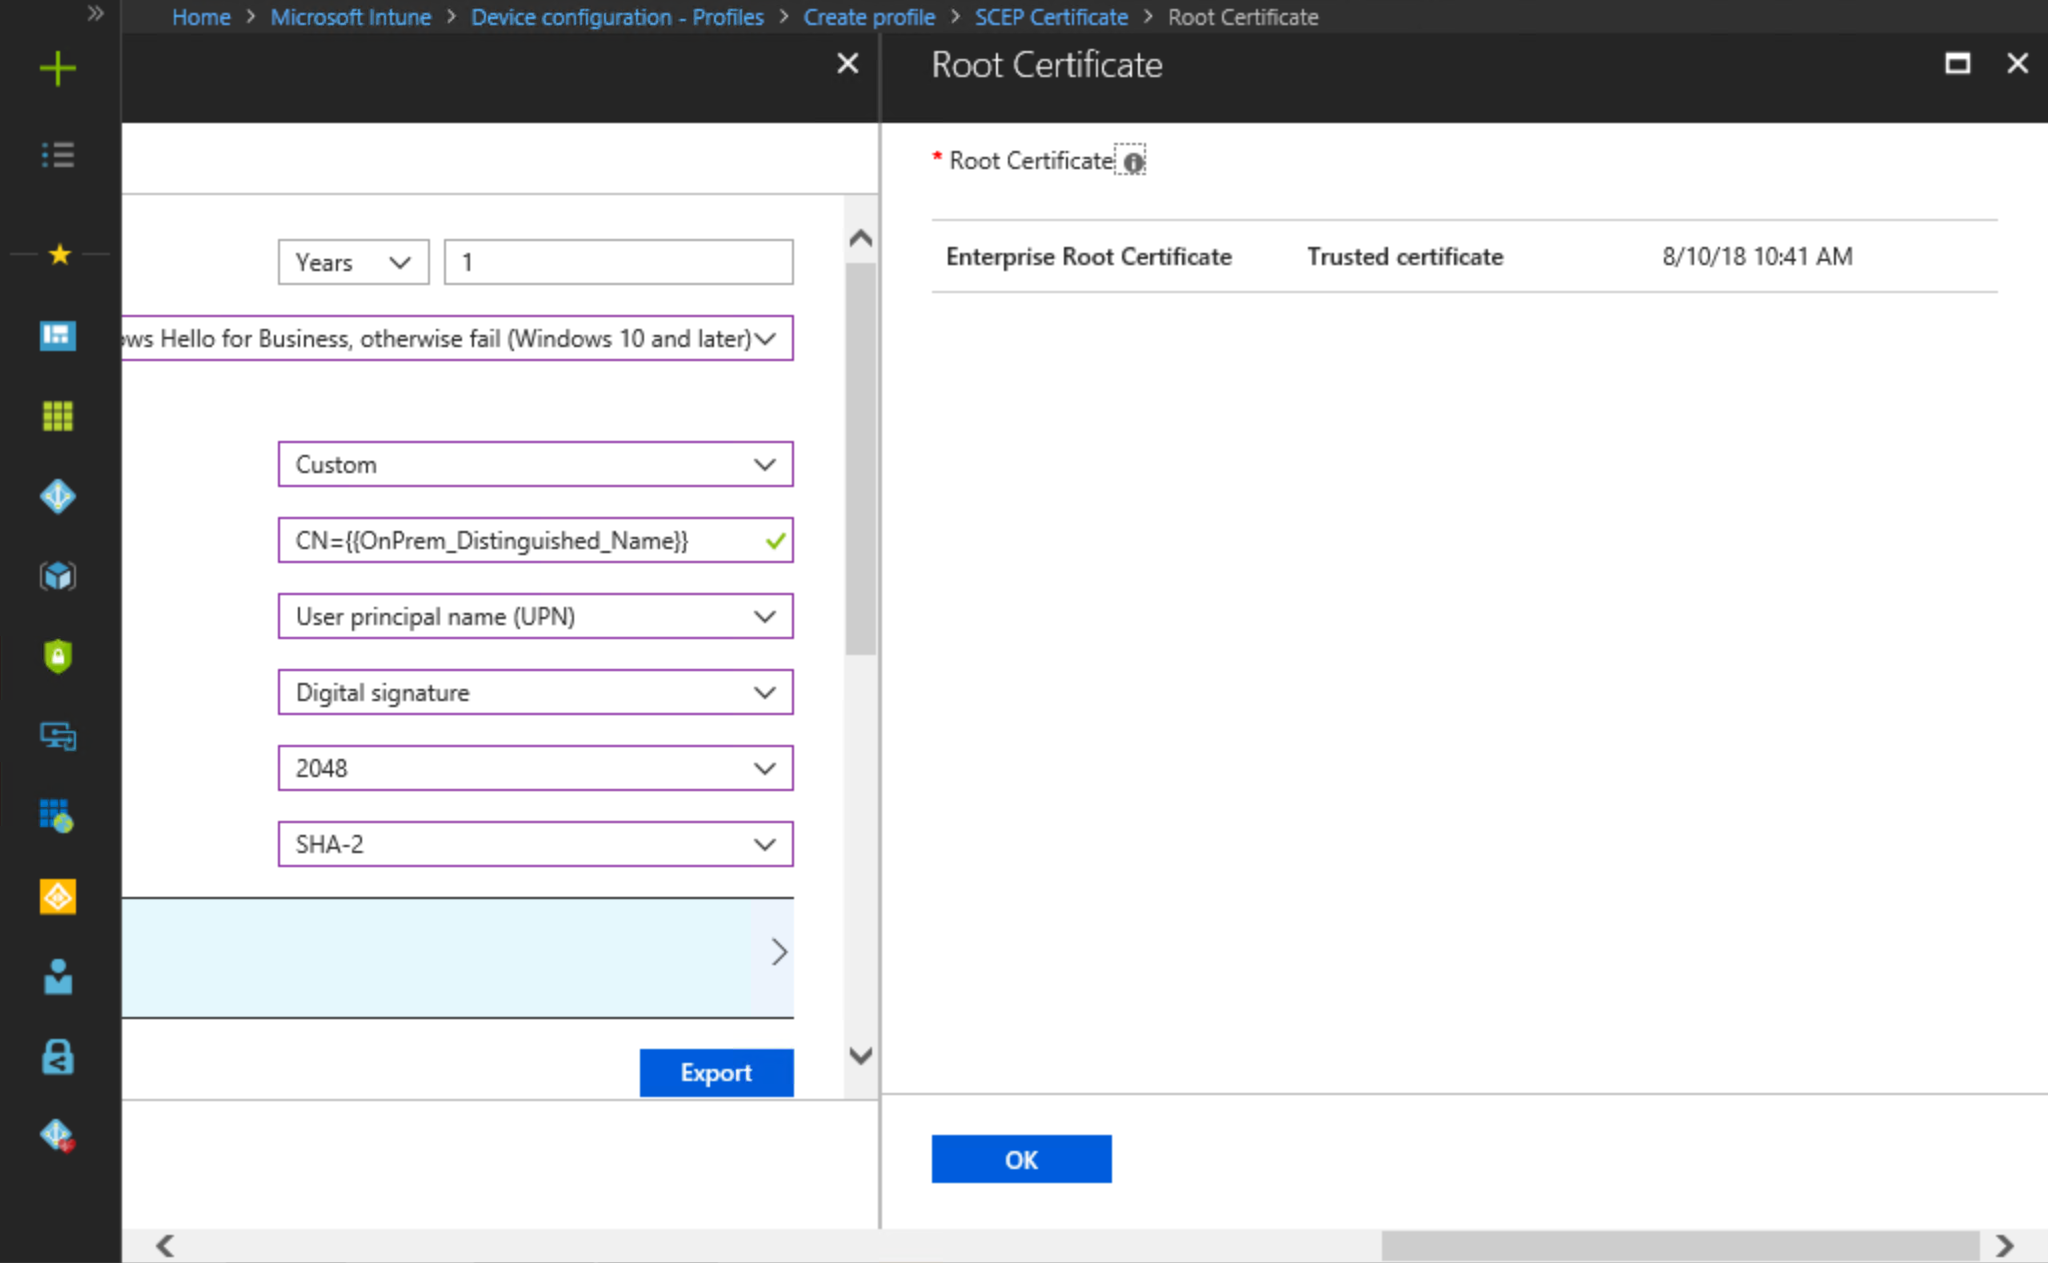
In the 'Create a SCEP Certificte Profile' section (typo in the heading & URL BTW), there's no step for configuring the Subject Alternative Name, yet in the picture on Step 14 it looks like this has been selected as 'User principal name (UPN)'. Can you please confirm if this step has been missed from the current instructions?
This section could also do with a re-do to align the ordering of the various settings with how they appear in the current Intune portal (Certificate validity period and KSP have been pushed down the page somewhat) and needs a step added for configuring Certificate type (either User or Device). Thanks!
Document Details
⚠ Do not edit this section. It is required for docs.microsoft.com ➟ GitHub issue linking.
- ID: 9f709fd4-0b5d-b238-4060-222d550cd538
- Version Independent ID: fb3f29da-2236-c47d-6bea-8efbcec8d7d3
- Content: Using Certificates for AADJ On-premises Single-sign On single sign-on
- Content Source: windows/security/identity-protection/hello-for-business/hello-hybrid-aadj-sso-cert.md
- Product: w10
- Technology: windows
- GitHub Login: @mapalko
- Microsoft Alias: mapalko
 SteveBurkettNZ
All 10 comments
@officedocsbot add label security
 illfated
on 31 Jul 2019
illfated
on 31 Jul 2019
@officedocsbot assign @mypil
 mypil
on 31 Jul 2019
mypil
on 31 Jul 2019
@officedocsbot add label security
mypil
on 31 Jul 2019
@SteveBurkettNZ - Thank you for submitting feedback.
I will get this issue over to the Win10 ITPro writing team for investigation.
Thank you for reporting and making the docs better. Much appreciated.
I made a note to request the team to update this when the work is complete.
mypil
on 31 Jul 2019
Will be interesting to see if any changes to the English version of this page could alleviate the translation bug in the Japanese version of the page, where 2 occurrences of a double asterisk ( * * ) contains a space between them, making it look like a broken MarkDown bold formatting issue (#3453).
illfated
on 31 Jul 2019
@SteveBurkettNZ : This topic is not at all within my working experience, so I hope you will be able to help me out by confirming a couple of minor details from this page.
When looking at the lines containing a double asterisk in 2 different sections, are these asterisks actually part of the needed input/code/explanation/description here? Or can they be removed?
Relevant excerpts from the page. Notice in particular step 3 in the first section and step 15 in the second section:
Verify the onPremisesDistinguishedName attribute is synchronized
The easiest way to verify the onPremisesDistingushedNamne attribute is synchronized is to use Azure AD Graph Explorer.
- Open a web browser and navigate to https://graphexplorer.azurewebsites.net/
- Click Login and provide Azure credentials
- In the Azure AD Graph Explorer URL, type https://graph.windows.net/myorganization/users/[userid], where [userid] is the user principal name of user in Azure Active Directory. Click **Go
- In the returned results, review the JSON data for the onPremisesDistinguishedName attribute. Ensure the attribute has a value and the value is accurate for the given user.

... skipping down to the next section containing an unverified double asterisk ...
Create a SCEP Certificte Profile
Sign-in a workstation with access equivalent to a _domain user_.
- Sign-in to the Azure Portal.
- Select All Services. Type Intune to filter the list of services. Click Microsoft Intune.
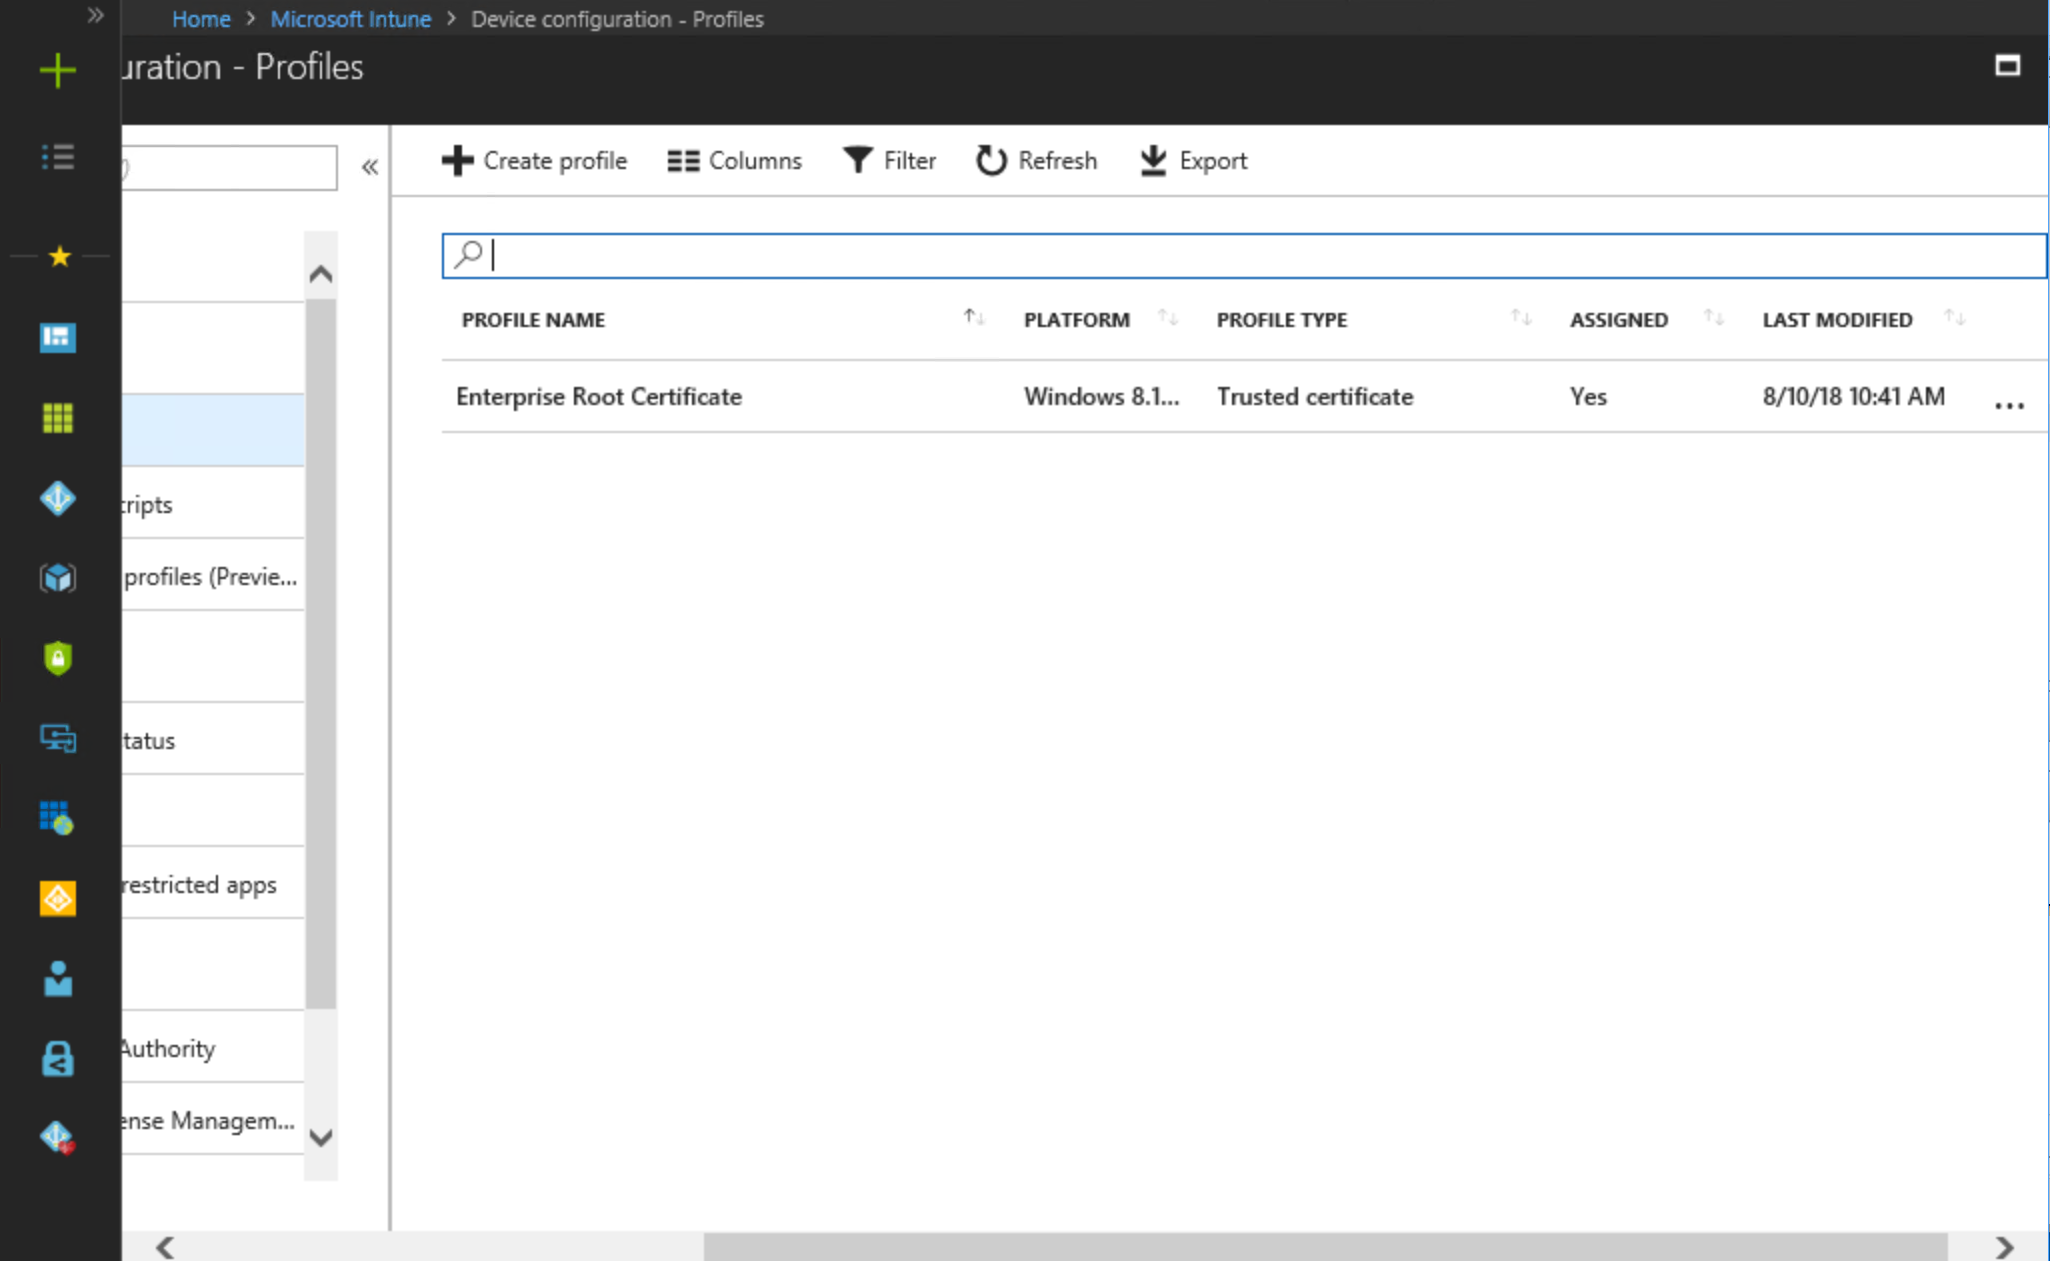
- Select Device Configuration, and then click Profiles.
- Select Create Profile.
- Next to Name, type WHFB Certificate Enrollment.
- Next to Description, provide a description meaningful for your environment.
- Select Windows 10 and later from the Platform list.
- Select SCEP certificate from the Profile list.

The SCEP Certificate blade should open. Configure Certificate validity period to match your organization.
[!IMPORTANT]
Remember that you need to configure your certificate authority to allow Microsoft Intune to configure certificate validity.Select Enroll to Windows Hello for Business, otherwise fail (Windows 10 and later) from the Key storage provider (KSP) list.
- Select Custom from the Subject name format list.
- Next to Custom, type CN={{OnPrem_Distinguished_Name}} to make the on-premises distinguished name the subject of the issued certificate.
- Refer to the "Configure Certificate Templates on NDES" task for how you configured the AADJ WHFB Authentication certificate template in the registry. Select the appropriate combination of key usages from the Key Usages list that map to configured NDES template in the registry. In this example, the AADJ WHFB Authentication certificate template was added to the SignatureTemplate registry value name. The Key usage that maps to that registry value name is Digital Signature.
- Select a previously configured Trusted certificate profile that matches the root certificate of the issuing certificate authority.
- Under Extended key usage, type Smart Card Logon under Name. Type 1.3.6.1.4.1.311.20.2.2 under **Object identifier. Click Add.
[ ... ]
(see https://docs.microsoft.com/en-us/windows/security/identity-protection/hello-for-business/hello-hybrid-aadj-sso-cert#create-and-assign-a-simple-certificate-enrollment-protocol-scep-certificate-profile for the rest of the section)
illfated
on 31 Jul 2019
It's broken markdown.
If you check out the raw MD page and do a search for 'strong' you'll find:
type https://graph.windows.net/myorganization/users/[userid], where **[userid]
... I'd delete the strong and /strong tags and add a double asterisk at the end to get:
type https://graph.windows.net/myorganization/users/[userid], where [userid]
and the other is:
under Name. Type **1.3.6.1.4.1.311.20.2.2
… I'd delete the strong and /strong tags, add double asterisk either side of Name, add another double asterisk at the end to get:
under Name. Type 1.3.6.1.4.1.311.20.2.2
SteveBurkettNZ
on 4 Aug 2019
Thank you very much for the feedback regarding this somewhat unrelated issue.
I hope the other tech writers with experience in this topic will be able to help you.
illfated
on 5 Aug 2019
@SteveBurkettNZ - From our understanding, the issue has been resolved based on the merged commit [0a62027] but it may take a few days for the merged content to appear in the article. If you feel it hasn't been resolved, please re-open this issue.
Thank you for your contribution to make the docs better! Much appreciated!
mypil
on 27 Aug 2019
@officedocsbot close
mypil
on 29 Aug 2019
Related issues
 ruffy91
·
3Comments
ruffy91
·
3Comments
 sundhaug92
·
3Comments
sundhaug92
·
3Comments
 ang216
·
3Comments
ang216
·
3Comments
 weiss-gal
·
3Comments
weiss-gal
·
3Comments
 thohun
·
3Comments
thohun
·
3Comments
Most helpful comment
It's broken markdown.
If you check out the raw MD page and do a search for 'strong' you'll find:
... I'd delete the strong and /strong tags and add a double asterisk at the end to get:
and the other is:
… I'd delete the strong and /strong tags, add double asterisk either side of Name, add another double asterisk at the end to get: