Simulator: ROSAgentManager doesn't exist.
All 6 comments
What version of the simulator are you using?
 hadiTab
on 1 Oct 2019
hadiTab
on 1 Oct 2019
v2019.09
I cloned the source code 4 or 5 days ago.
 clepz
on 1 Oct 2019
clepz
on 1 Oct 2019
@clepz
We are in the process of updating our tutorials to the new HDRP simulator and they will release soon.
In the meantime, here are the steps.
1) Create a folder with the vehicle name in Assets/External/Vehicles/YourNewVehicle
2) Place create Models folder inside YourNewVehicle folder. Import .fbx into Models folder, it should make a Materials folder inside Models folder. If not, make one. All materials and textures go in this folder.
3) Drag the Jaguar2015XE prefab that we provide into an empty scene and reset it's transform. Pos (0,0,0) Rot (0,0,0) Scale (1,1,1). This is for reference
4) Create a empty game object, name it YourNewVehicle and reset it's transform. Pos (0,0,0) Rot (0,0,0)
By setting the ref vehicle and your vehicle at world origin, the holder objects will align.
NOTE Left-click the transform component top right gear and choose Reset to reset all transform parameters at once.
5) Drag the vehicle fbx as a child of this game object.
6) Right Click on the Jaguar2015XE object and choose Unpack Prefab.
7) Select the WheelColliderHolder, HeadLights, BrakeLights, IndicatorsLeft, IndicatorsRight, IndicatorsReverse, InteriorLight and Reflection Probe.
8) Drag these selected objects to YourNewVehicle so they are children of the root object.
9) Delete broken Jaguar2015XE prefab from scene and add a new one for reference.
10) Select root object of Jaguar2015XE.
11) Right click Copy Component in the Inspector panel on the RigidBody component
12) Select the YourNewVehicle root object and in the inspector panel, right click and Paste Component as New
13) Repeat for VehicleDynamics, VehicleController, and VehicleActions.
14) On the VehicleDynamics component, open Axles array. Inside assign the FL FR RL RR wheel colliders and Left, Right, Front and Rear wheel meshes from your model. See the Jaguar2015XE prefab for help.
15) Assign Tag "Player" and Layer "Agent" (All child objects)
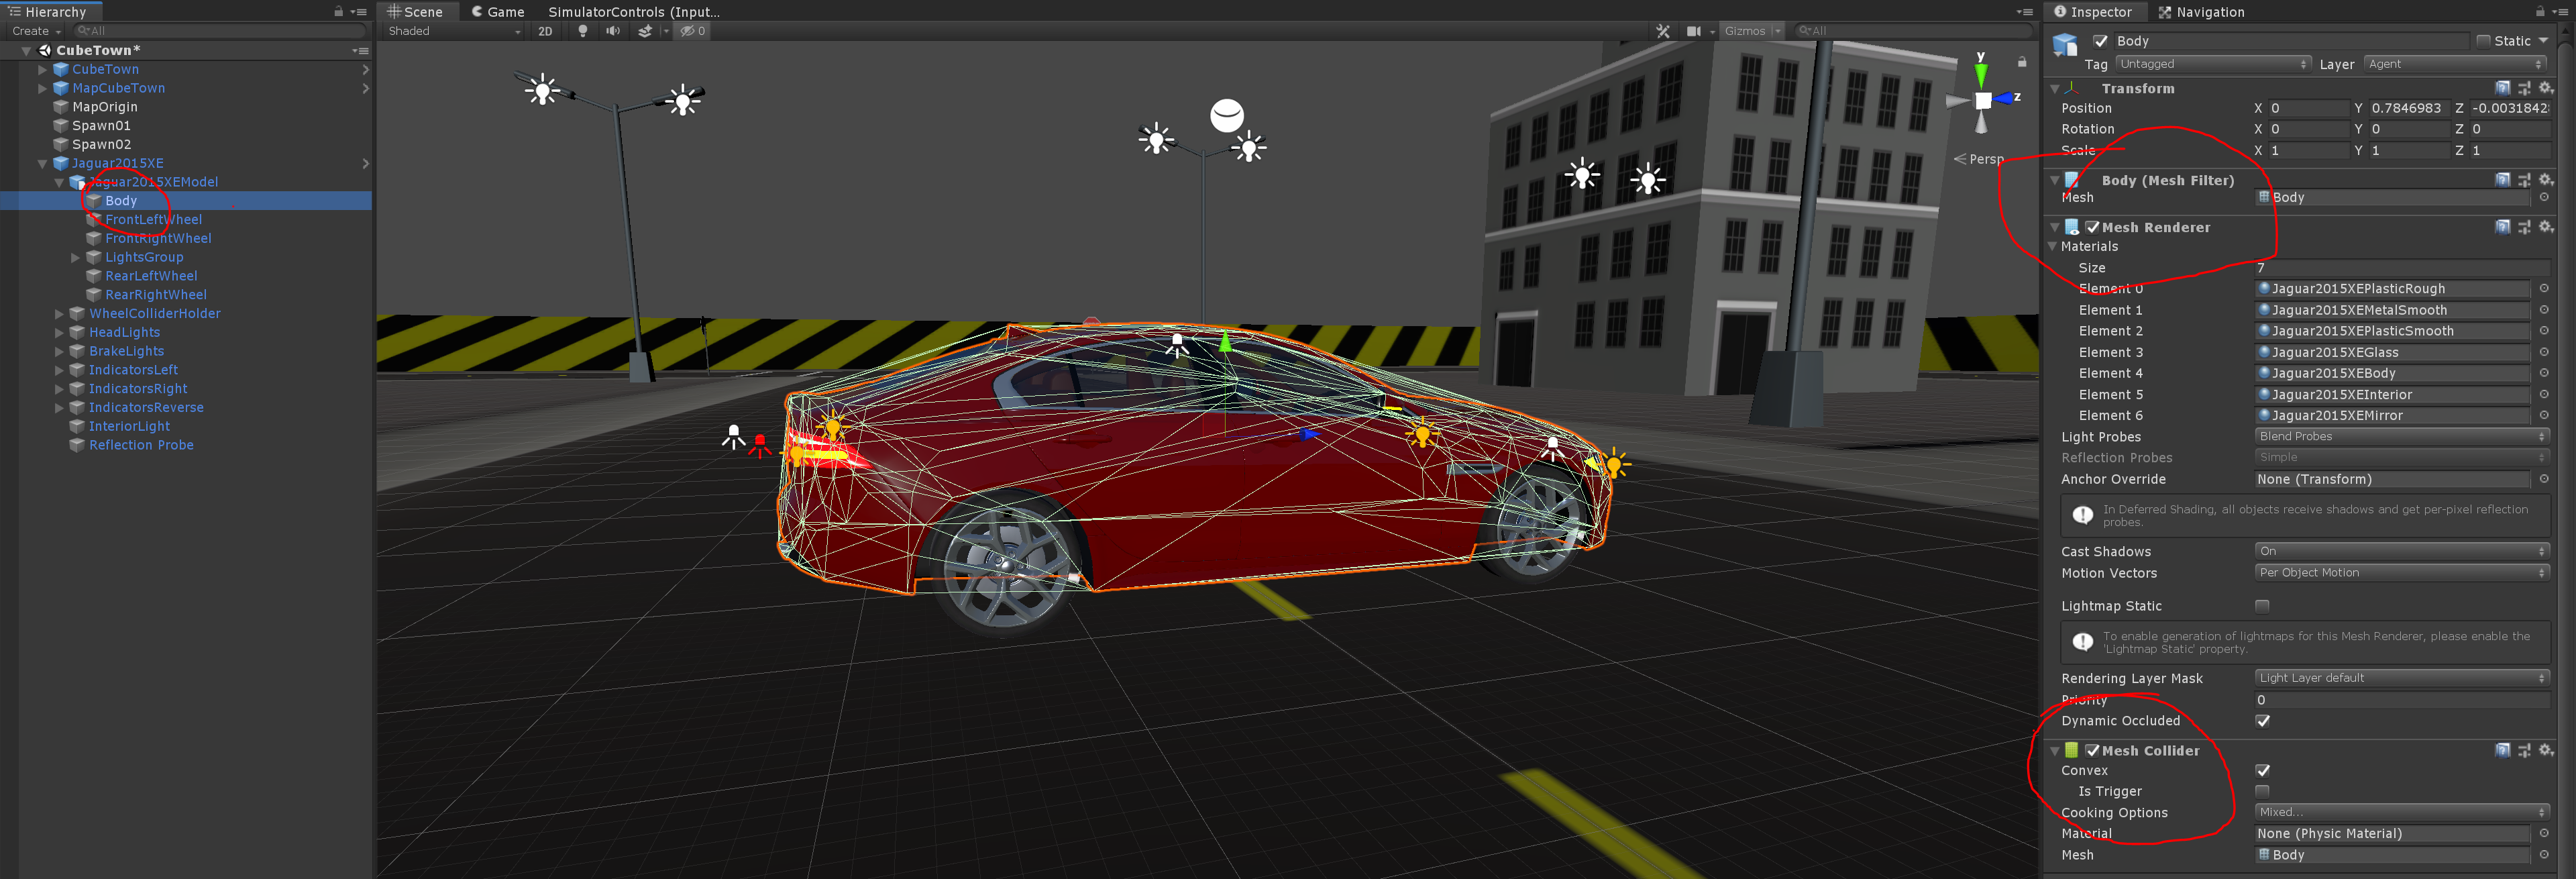
16) Add Mesh Collider component to the body object of the vehicle on the same object that has the mesh renderer.
17) Move lights and wheel colliders to match YourNewVehicle wheels and light positions.
18) Drag the root YourNewVehicle into the Project Panel in the Assets/External/Vehicles/YourNewVehicle folder.
19) At the top menu, Simulator -> Build... and make an asset bundle for that vehicle. It places it in the repo AssetBundles folder.
20) Run the WebUI to then add a new vehicle and point it to the new vehicle. Boom, YourNewVehicle.
 EricBoiseLGSVL
on 2 Oct 2019
EricBoiseLGSVL
on 2 Oct 2019
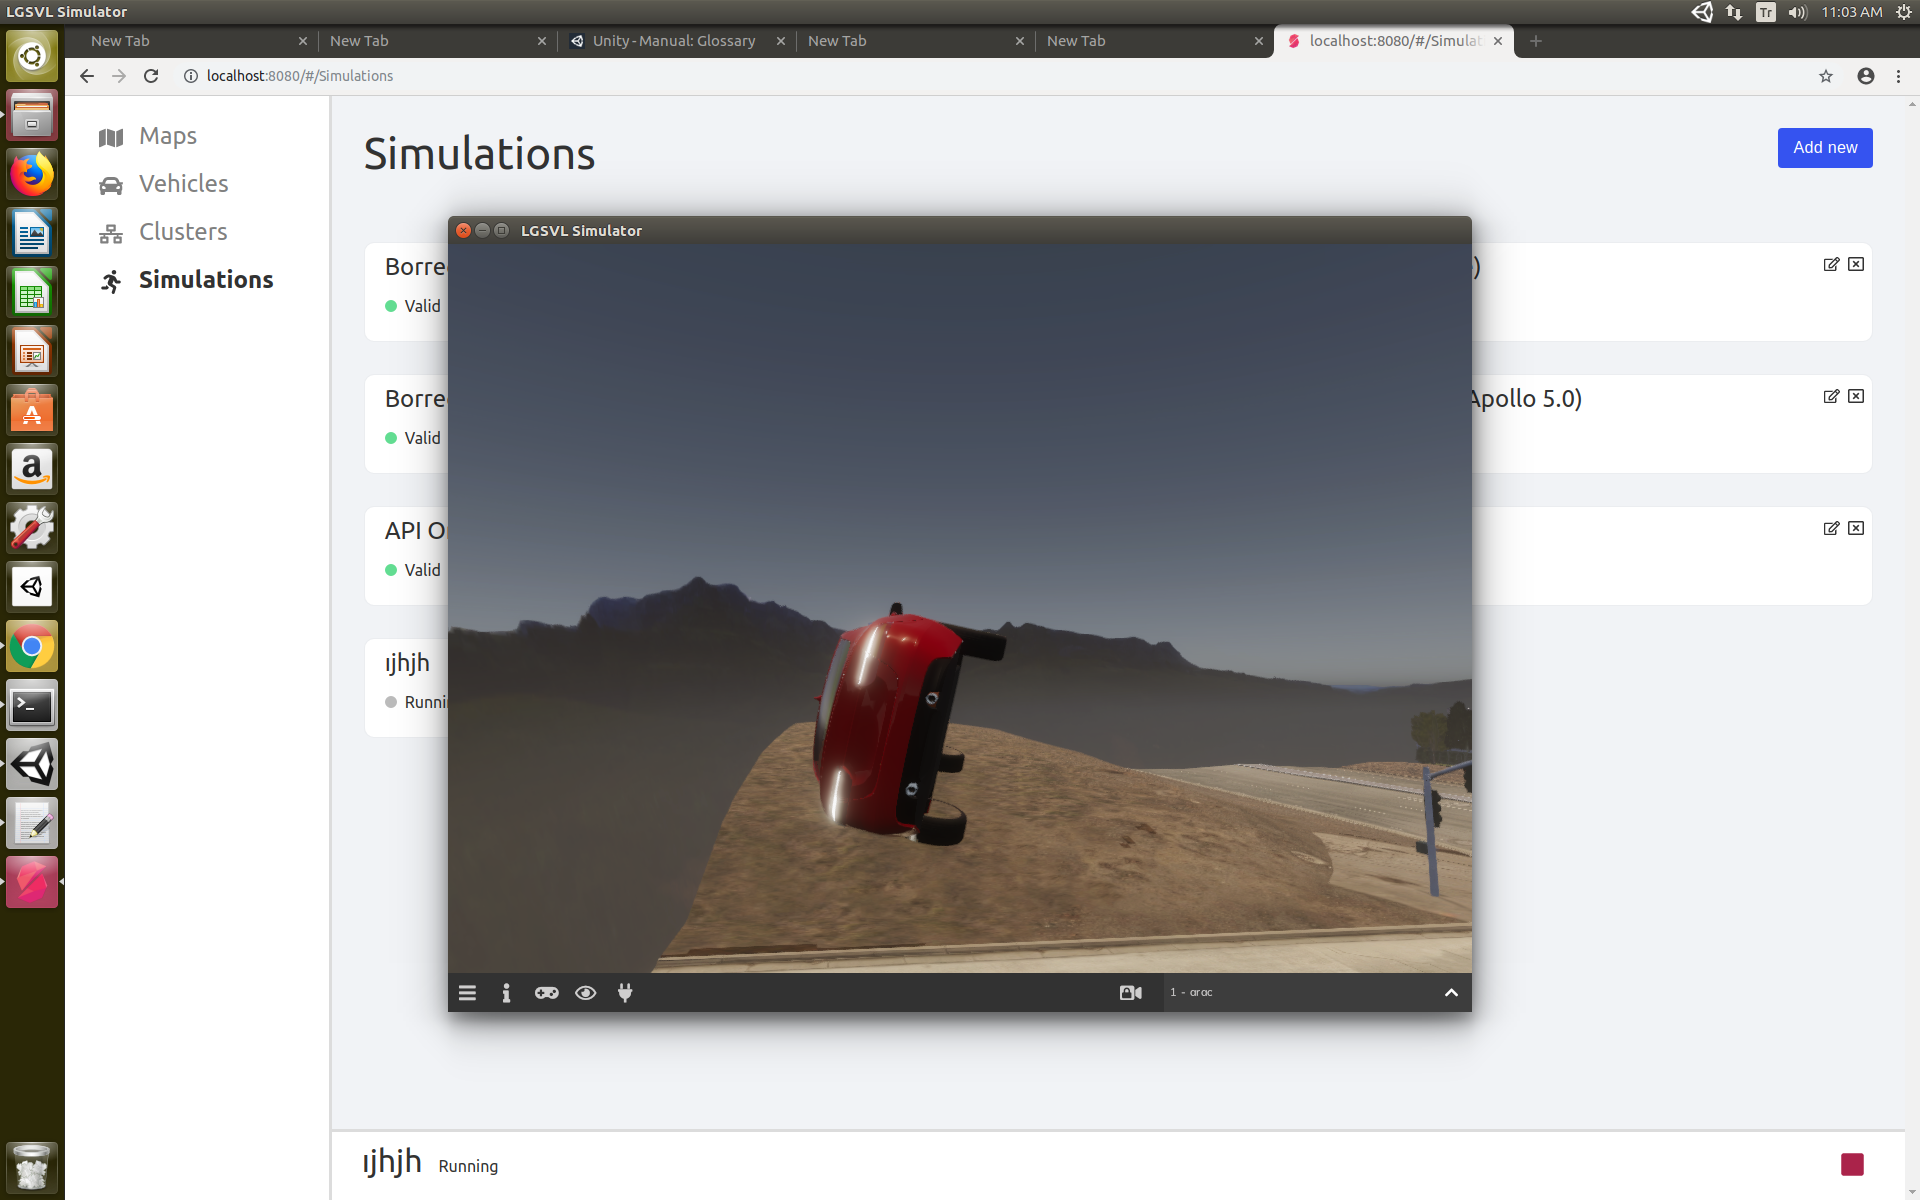
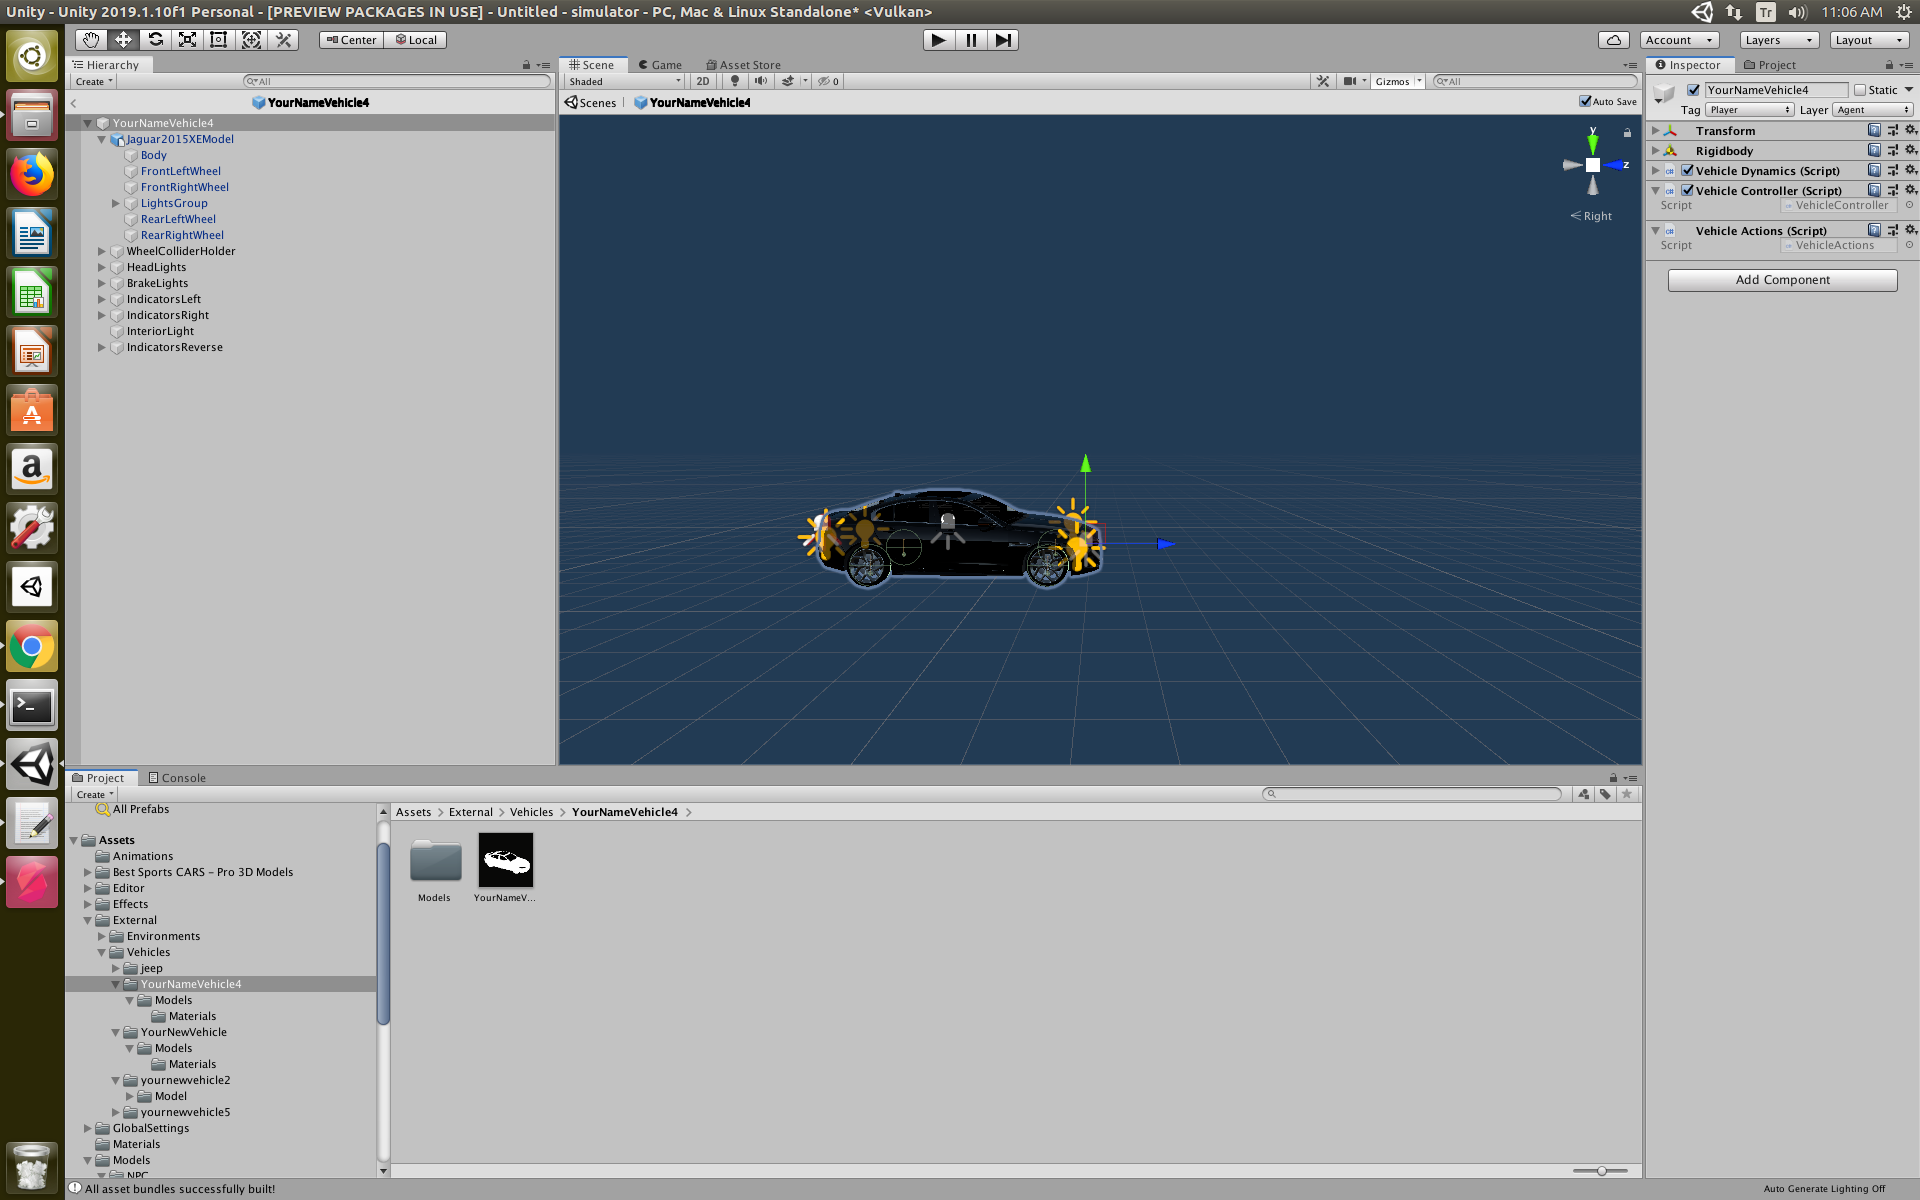
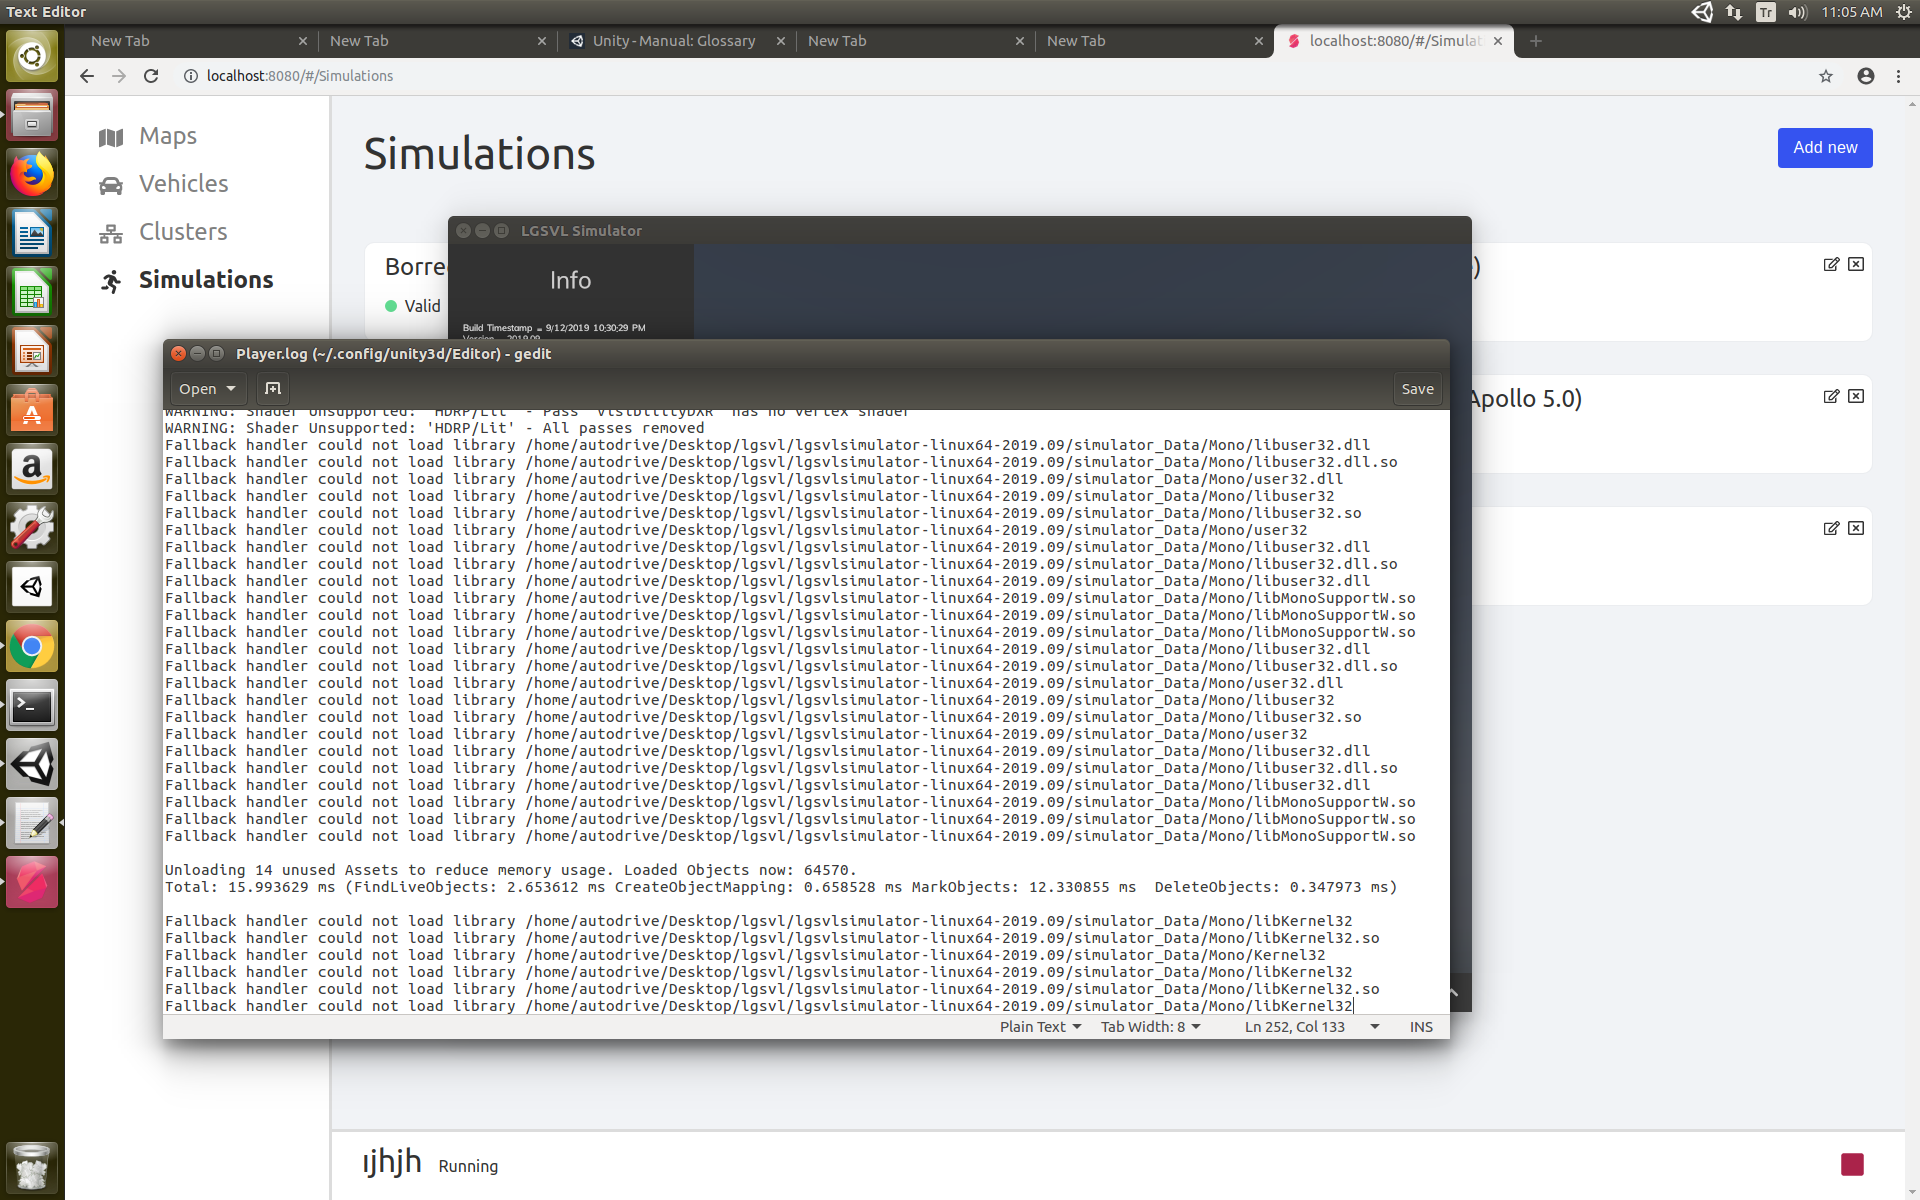
Hi @EricBoiseLGSVL , I did all the steps you have mentioned, but when the simulation begins, the car does not stand still, it starts flying and falls down from the map as you can see below. I've added the logfile screenshot.
 BatuhanUlucay
on 3 Oct 2019
BatuhanUlucay
on 3 Oct 2019
@BatuhanUlucay
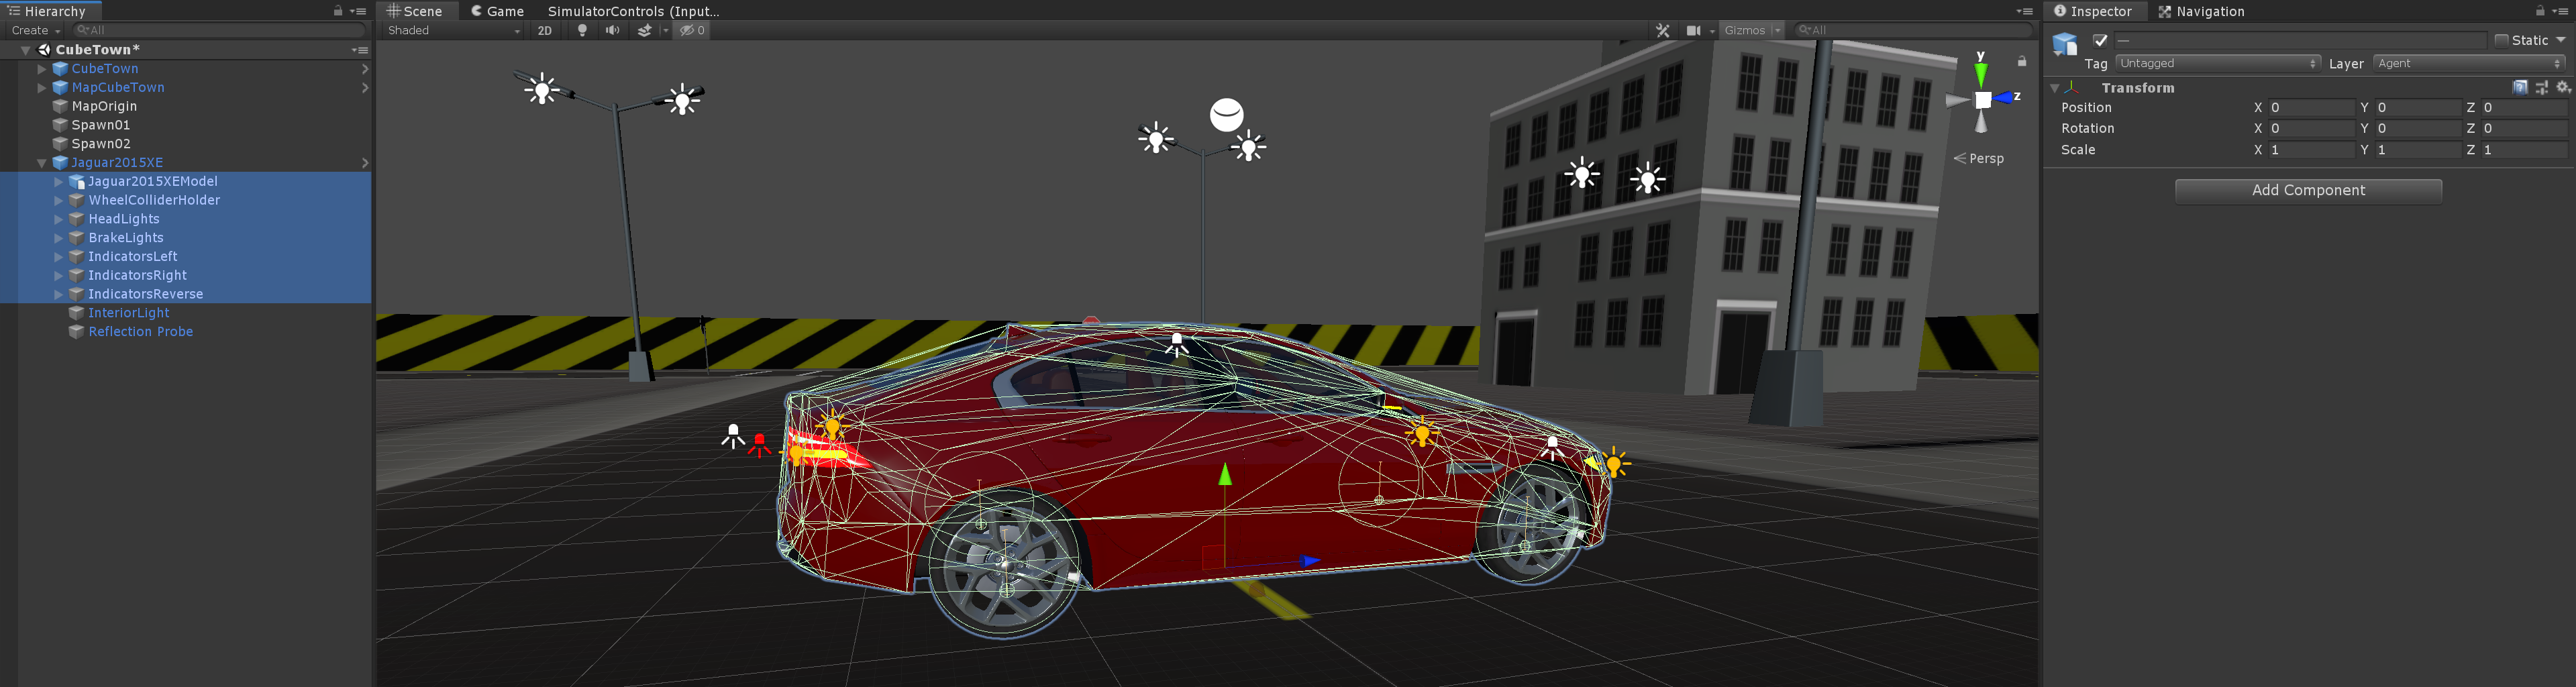
I can tell immediately that the transforms are not reset. Set the root prefab at position/rotation (0,0,0), scale (1,1,1) from step 4. Left click the transform component top right gear and choose Reset.
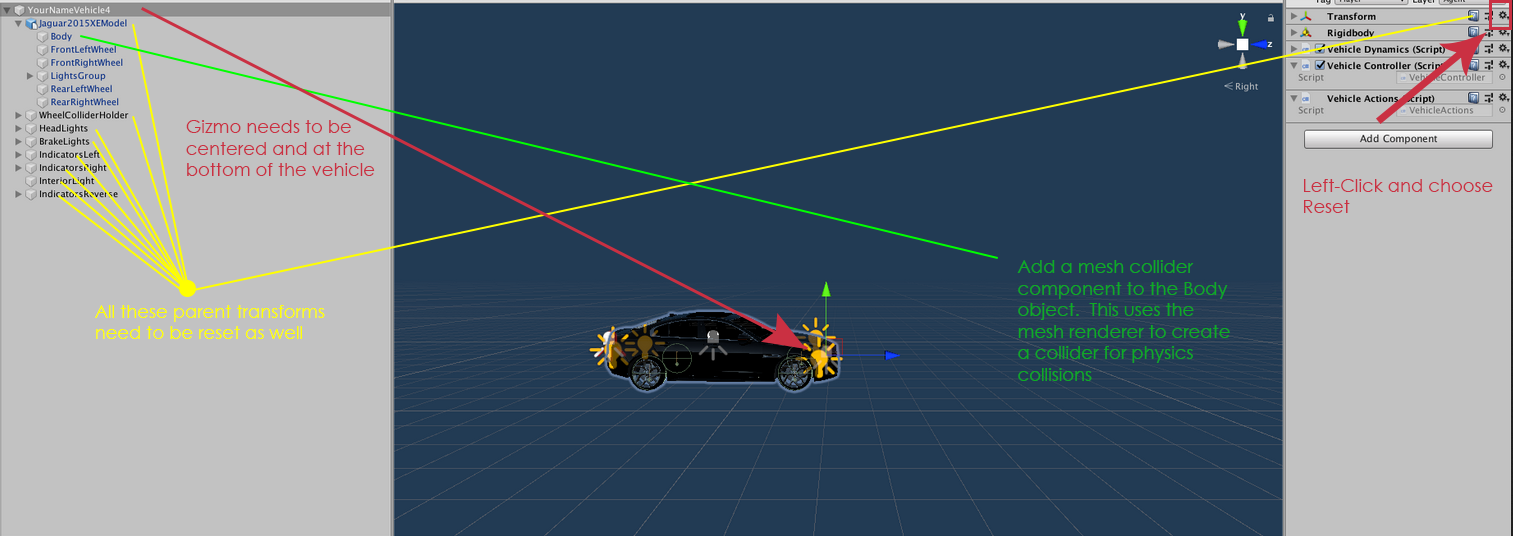
Reset all child holder object as well. Reposition the children of the child holders, e.g. the lights and wheel colliders.
Add a mesh collider to the body of the vehicle.
I have updated the 1-20 steps above to be more clear
EricBoiseLGSVL
on 3 Oct 2019
@EricBoiseLGSVL Thank you, adding the mesh collider to body did work.
BatuhanUlucay
on 4 Oct 2019
Related issues
 AlexandrZabolotny
·
4Comments
AlexandrZabolotny
·
4Comments
 yumianhuli2
·
6Comments
yumianhuli2
·
6Comments
 amirtakouh
·
7Comments
amirtakouh
·
7Comments
 wsp50317
·
5Comments
wsp50317
·
5Comments
 mehmetdogru
·
7Comments
mehmetdogru
·
7Comments
Most helpful comment
@clepz
We are in the process of updating our tutorials to the new HDRP simulator and they will release soon.
In the meantime, here are the steps.
1) Create a folder with the vehicle name in Assets/External/Vehicles/YourNewVehicle
2) Place create Models folder inside YourNewVehicle folder. Import .fbx into Models folder, it should make a Materials folder inside Models folder. If not, make one. All materials and textures go in this folder.
3) Drag the Jaguar2015XE prefab that we provide into an empty scene and reset it's transform. Pos (0,0,0) Rot (0,0,0) Scale (1,1,1). This is for reference
4) Create a empty game object, name it YourNewVehicle and reset it's transform. Pos (0,0,0) Rot (0,0,0)
By setting the ref vehicle and your vehicle at world origin, the holder objects will align.
NOTE Left-click the transform component top right gear and choose Reset to reset all transform parameters at once.
5) Drag the vehicle fbx as a child of this game object.
6) Right Click on the Jaguar2015XE object and choose Unpack Prefab.
7) Select the WheelColliderHolder, HeadLights, BrakeLights, IndicatorsLeft, IndicatorsRight, IndicatorsReverse, InteriorLight and Reflection Probe.
8) Drag these selected objects to YourNewVehicle so they are children of the root object.
9) Delete broken Jaguar2015XE prefab from scene and add a new one for reference.
10) Select root object of Jaguar2015XE.
11) Right click Copy Component in the Inspector panel on the RigidBody component
12) Select the YourNewVehicle root object and in the inspector panel, right click and Paste Component as New
13) Repeat for VehicleDynamics, VehicleController, and VehicleActions.
14) On the VehicleDynamics component, open Axles array. Inside assign the FL FR RL RR wheel colliders and Left, Right, Front and Rear wheel meshes from your model. See the Jaguar2015XE prefab for help.
15) Assign Tag "Player" and Layer "Agent" (All child objects)
16) Add Mesh Collider component to the body object of the vehicle on the same object that has the mesh renderer.
17) Move lights and wheel colliders to match YourNewVehicle wheels and light positions.
18) Drag the root YourNewVehicle into the Project Panel in the Assets/External/Vehicles/YourNewVehicle folder.
19) At the top menu, Simulator -> Build... and make an asset bundle for that vehicle. It places it in the repo AssetBundles folder.
20) Run the WebUI to then add a new vehicle and point it to the new vehicle. Boom, YourNewVehicle.